Become a Champion

Already an established user in FunctionFox? Dive into some advanced tools and features.

home Help Center keyboard_arrow_right Become a Champion Series keyboard_arrow_rightProject Costs

Project Costs

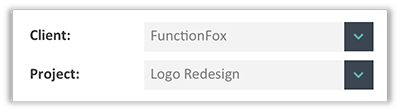
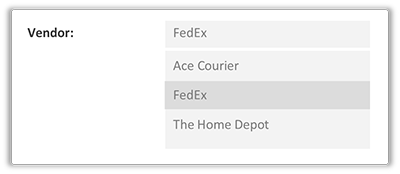
Project Costs allows you to keep track of all fixed costs against a project, such as: travel costs, courier services and printing costs.

How to Add Project Costs:

  1. Go to Projects > Project Costs
  2. Select the Client and Project
    FunctionFox product image selecting client and project menus
  3. Enter in the details pertaining to the Cost in the remaining optional fields:
    • Waybill/P.O#
    • Invoice #
    • Select or enter in the applicable Vendor.
      FunctionFox product image selecting or entering in a vendor.
    • Select the Entry Date (default is today's date).
    • Select an Item, you can manage your list of Cost Items by clicking on the "Manage" link (see more about cost items below).
      FunctionFox product image selecting a cost item.
    • Enter in a Description for the entry
    • Enter in a Quantity value for the entry.
    • Enter in an Estimated cost for the entry.
    • Enter in an Actual amount for the cost entry.
      FunctionFox product image entering in actual and estimated costs
    • Mark the the entry as Bill Received if applicable.
    • Attach a file related to the cost, such as a receipt.
      FunctionFox product image uploading files to job costs
  4. Click Save New

Once a Project Cost is saved it will appear in the project cost table below the entry form.

pets

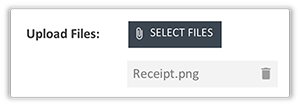
FOX TIP: You can quickly preview an image file that has been attached to a cost by hovering your mouse cursor over the file icon attach_file. Files are attached to costs using our Flink tool.

Searching for a Cost Entry

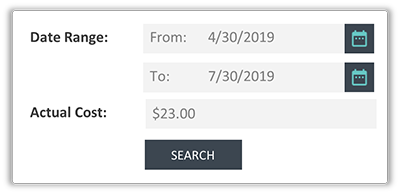
The Project Costs page also functions as a search page. The default view for the page will display all cost entries made within the last 90 days. You can select a different date range for searching by modifying the Date Range parameters.

Enter your desired search criteria in the applicable fields and click Search.
FunctionFox product image entering search criteria

Note: you can use the Personnel pick list to find entries entered by a specific user.

Editing a Cost Entry

  1. Find the entry you wish to edit.
  2. Click on the edit pencil create next to the entry.
  3. Make your desired changes and Save Edit.

You can also make selective changes within the project cost table. Hover over a table row to see which fields can be edited in-line.

Deleting a Cost Entry

  1. Find the entry that you wish to delete.
  2. Click on the delete icon delete next to the entry.
  3. Confirm your delete.

How to Add in Cost Items

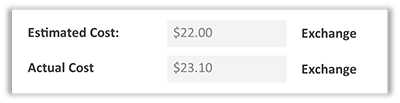
Have a list of items that you purchase frequently at the same cost? Use the Item List to add items with a unit price. Select an item and input the quantity, and the Actual cost will automatically be calculated.

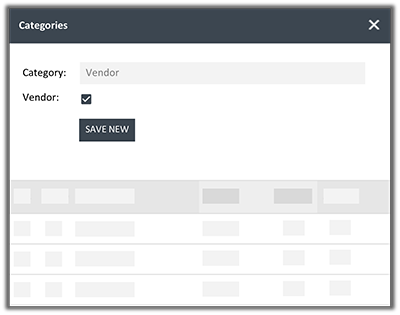
To create a cost item

  1. Click on Manage beside the item field.
    FunctionFox product image managing cost items menu
  2. Enter in the Item (e.g. kilometres, Adobe Stock, Printing Fee etc.)
  3. Enter in the Price per Unit (up to 4 decimal places)
  4. Click Save New

When entering a project cost and selecting an item, you will see that the Actual cost field is populated with the price per item value. Update the quantity number and the Actual cost will update to reflect the change.

How to Add in Vendors

  1. Go to Tips/Links.
  2. Click on Add Vendor.
  3. Once on the Contact page click on the Manage button next to the Category menu.
    FunctionFox product image managing vendor selection
  4. Enter in a new Vendor Category name, and mark it as being a Vendor.
    FunctionFox product image creating vendor categories.
  5. Enter in your vendor details on the contacts page and select the Category you have created.
  6. Click Save New

How to Add Markups

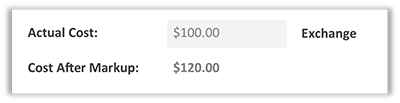
To create a markup (%) that can be applied to a cost entry:
FunctionFox product image adding cost Markups

  1. Click on Manage next to the markup drop down.
  2. Enter in a Name for the markup.
  3. Enter in a Note (optional).
  4. Enter in the Percentage amount.
  5. Click Save New.

pets

FOX TIP: Need to apply a discount to a cost? You can do this by entering a negative markup percentage value.

How to Apply Markups

  1. Enter in you cost entry details following the steps above.
  2. Select the Markup percentage to be applied.
    FunctionFox product image selecting cost markup
  3. The selected markup percentage will be applied against the actual cost, and you will see the Cost After Markup value appear below the Actual Cost Field.
    FunctionFox product image viewing markup and actual cost amounts

Still Have Questions?

Get in Touch

FunctionFox uses cookies to deliver you the best possible web experience, analyze site traffic, and personalize content. By continuing and remaining on our site, you consent to our use of cookies. To learn more about how we use cookies please visit our Cookie Policy or Privacy Policy

Continue